
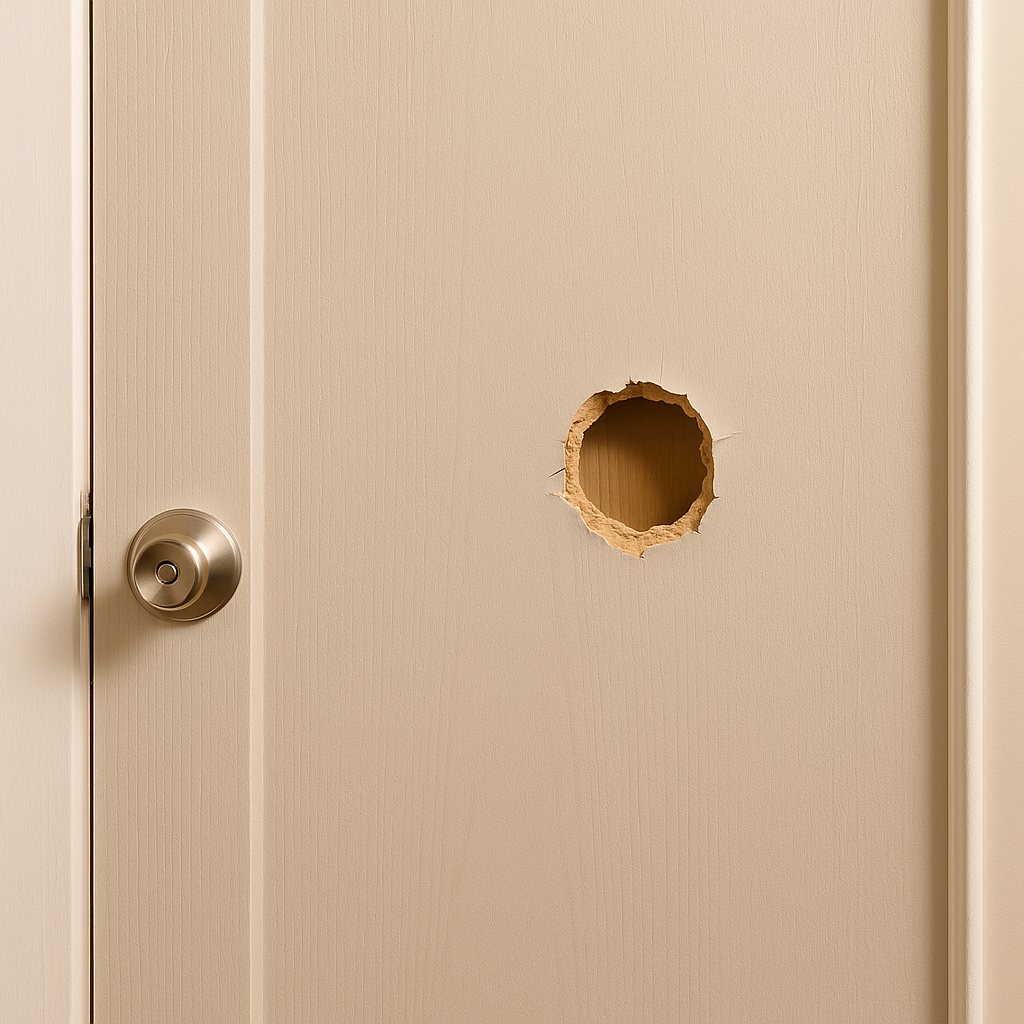
We’ve all been there. Maybe a doorknob swung too wide. Maybe someone got a little too frustrated and took it out on the door. Whatever the story, now you’ve got a crater in your hollow-core door and it’s staring back at you every time you walk past.
Good news: you don’t need to replace the whole door. You don’t need to hire anyone. And you definitely don’t need to feel like this is some expert-level fix. If you can spread peanut butter on toast, you can patch this thing up.
Here’s how to get it done clean, strong, and good as new.

What You’ll Need
- A utility knife – something sharp and solid like the OLFA 18mm Heavy-Duty Utility Knife. This one’s built like a tank and doesn’t rattle or flex when you bear down.
- Backing material – I use Nelson Wood Shims or even a thin piece of wood lath. The idea is to give your filler something to grab.
- Wood glue – Titebond III Ultimate Wood Glue is the gold standard. Waterproof, bonds like it means it.
- Joint compound – DAP DryDex Spackling. It goes on pink and dries white, so you know when it’s ready.
- Putty knife – Get a solid one. The Red Devil 1.5” Flex Putty Knife is metal and just flexible enough to smooth things out right.
- Sandpaper – 120-grit and 220-grit should be plenty.
- Primer and paint – Match your existing door color or repaint the whole thing for a fresh start.
Step-by-Step: How to Patch a Hole in a Hollow Door
1. Trim the damage
Start by cleaning up the hole. Use your utility knife to cut away any jagged or loose material. Make the edges of the hole smooth and slightly squared-off. Not too big, just enough to give you clean lines to work with. A cleaner edge makes for a cleaner patch.
2. Install a backer
This is the trick that makes the patch strong. Cut a thin piece of wood (a little longer than the hole’s widest point) and glue it inside the door, behind the hole. Slide it in, glue side down, and use a screw or hook to hold it in place while the glue dries. You’re giving your filler something to bite into so it won’t cave in later.
Let it dry for a few hours. If you’re using fast-drying glue, one hour may be enough, but patience pays off here.
3. Fill the hole
Once your backer’s dry and solid, load up some spackle or joint compound using your putty knife. Spread it across the hole, pressing firmly to fill all the gaps. Let the first layer dry, then go back over it with a second layer to smooth and feather the edges into the rest of the door.
4. Sand it smooth
Once everything’s dry, grab your sandpaper and get to work. Start with 120-grit to knock down the high spots, then switch to 220-grit to get it baby-smooth. Run your hand across it. If it feels like one clean surface, you’re good.
5. Prime and paint
This step makes it all disappear. Prime the patched area so the paint sticks properly, then hit it with your paint. If your door has a unique color, take a chip to your local hardware store and get a match. Or use this as an excuse to repaint the whole thing and make the door look brand new.
Note: sometimes, in the end, it’s easier to replace a hollow core door than repair one. Things like wood grain texture, or the placement and size of the damage, may influence you to replace, rather than repair.
Final Tip
Hollow doors aren’t delicate, but they’re not invincible either. If you’ve got a doorknob punching holes every time someone flings the door open, invest in a solid rubber doorstop and save yourself the future headache.
Patching a hole in a hollow door isn’t glamorous, but it’s one of those small victories that builds confidence. You’ll walk past that door every day knowing you fixed it — properly, cleanly, and with tools you now own for life.
You’re not just covering damage. You’re proving to yourself that you’re capable.
And that, my friend, is what this whole thing is about.
💡Want to avoid these kinds of repairs in the first place? Here are 4 Tiny Fixes That Made Me Feel More Capable This Year.
Ready to learn some more skills, or add some more highly rated tools to your toolbox? Read my other recent articles!
- Best Chainsaw for Homeowners: Safety Features Every Beginner Should Know
- Mulching Leaves vs Raking: The Best Way to Tackle Fall Cleanup
- Essential Fall Tools Every Homeowner Should Own Before the Leaves Take Over
- Milwaukee PACKOUT Review: The Modular Tool Storage That Actually Holds Up
- How to Fix a Toilet That Keeps Running (Without Calling a Plumber)
Note: This post contains affiliate links. If you click and buy, I may earn a small commission — at no extra cost to you. Thanks for supporting The Gentleman Fixer.
Leave a Reply